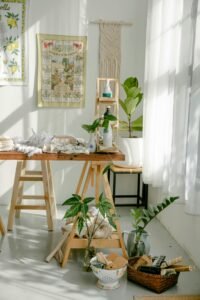
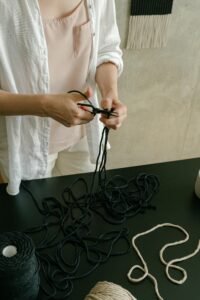
Macrame is such a rewarding and creative craft, but let’s be honest, trying to knot on your lap with tangled cords everywhere can take the fun out of it. Having a dedicated macrame workstation makes everything smoother, more organized, and way more enjoyable. Whether you have a full craft room or just a cozy corner, setting up your space doesn’t have to be complicated.
Here’s everything you need to create a functional and inspiring macrame workstation.
This post contains affiliate links, which means I may earn a small commission if you make a purchase through them, at no extra cost to you. It’s a simple way to support my tutorials and keep the creativity flowing. Thank you for being part of my macrame journey! ✨
🏡 Choosing Your Macrame Corner
The first step is deciding where your macrame station will live. Don’t worry, you don’t need a whole studio. A small corner of your living room, bedroom, or even a well-lit hallway can work.
For example, I still create most of my macrame projects from the corner of my bedroom. I don’t have a lot of space, but by keeping my tools organized and using a simple setup, it works perfectly. The important thing is finding a spot where you feel comfortable and inspired, no matter how big or small.
Here are some key points to consider as you set up your macrame sanctuary 👇
💡 Lighting
Lighting can make or break your macrame experience. When working with very light, very dark, or small cords, it’s easy to miss knots—or strain your eyes—if the space isn’t well lit. Whenever possible, set up near a window and take advantage of natural daylight. It’s easy on the eyes and perfect for photographing your projects.
If, like me, you often craft in the evenings or on cloudy days, good artificial lighting is essential. A floor lamp or daylight LED lamp works wonderfully, especially if it has an adjustable head you can angle at your project.
When I’m crafting at night or on gloomy days, I just turn on the softbox I normally use for filming my videos. It gives a bright but gentle light that helps me see every knot comfortably. You can find the same softbox here.
↔️ Movement Space
Depending on the type of project, your space needs may change. Small pieces like coasters, keychains, baskets, or plant hangers can be made on a cork board or smaller surface, but larger projects, like wall hangings, often need to be worked vertically using a rack or stand. When you’re working this way, it’s important to consider how much room you’ll need to move around your project.
Macrame isn’t always a “sit still” craft—you’ll often step back to check the balance of your design, adjust cords side to side, or reach higher and lower sections. Giving yourself a few feet of clearance in front of and around your rack makes the process much more comfortable.
Even in smaller spaces, you can make it work. When I work on placemats, table runners, or wall hangings, I often create my projects from the back of my bedroom door.
🪑 Comfort
Knotting can be relaxing, but longer projects often involve standing or sitting for long periods.
-
Choose a supportive chair or stool if you’ll be sitting.
-
If you prefer working while standing, make sure your rack or board is at a comfortable height, around waist level is usually easiest for your shoulders and arms.
-
A small anti-fatigue mat can make standing sessions more comfortable.
Don’t forget the little extras: a cozy cushion, a blanket for cooler evenings, or even background music to help you get into the flow.
🛠 Work Surface and Support
The type of macrame project you’re working on will determine the best work surface and support for your station.
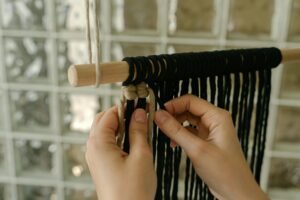 Racks or Stands
For larger projects, a rack or stand is often the easiest solution. A simple garment rack works beautifully and is adjustable. Dedicated wooden macrame stands are another great option.
DIY / Budget-Friendly Options:
-
A tension rod between two walls or a shower curtain rod can serve as vertical support. It is simple and inexpensive.
-
I personally use a clothes hanger over my door as a mini rack, hanging two sennits of spiral knots where I can attach a dowel in different levels. It’s perfect for practicing knots or small projects.
Cork Board or Foam Board
For smaller projects, like coasters, keychains, or jewelry, a cork board or foam board works wonderfully. Pins hold your cords in place, and boards are portable for easy storage.
Tip: If you can have both vertical and horizontal support. It makes switching between projects easy without reorganizing your whole space.
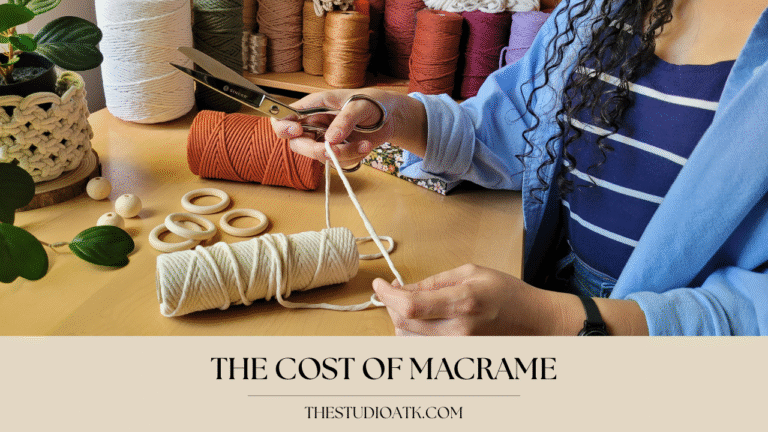
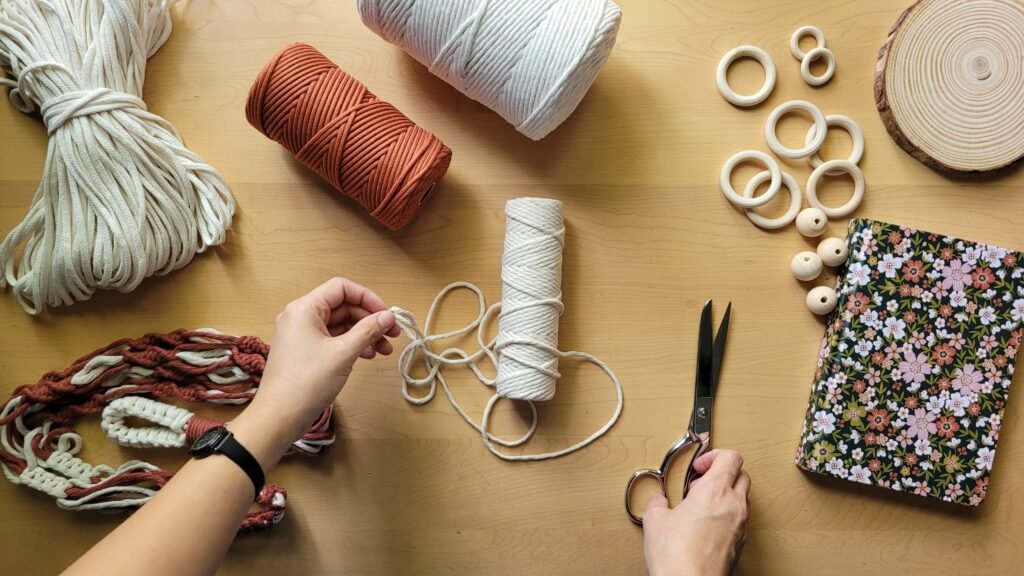
✂️ESSENTIAL TOOLS:
Having the right tools at your macrame station makes your projects easier and more enjoyable.
Scissors
Sharp scissors are a must for clean cord cuts. I keep a pair just for macrame so they stay sharp and don’t get dulled by other household tasks. For thicker cords, heavy-duty scissors work best, while smaller craft scissors are perfect for delicate projects like jewelry or coasters.
For my own projects, I use Singer fabric scissors. They cut smoothly and have become a staple at my workstation. If you’re curious, you can take a look at them here.
Brushes & Combs
Essential for fluffy fringes and smoothing cords. On my projects, I like to use a pet’s brush, it makes the fringe look full and neat.
Measuring Tape or Ruler
Accurate cord lengths make a huge difference. I usually use one of my sewing measuring tapes for longer cords length, and ruler for shorter cords length.
Pins & Clips
Pins and clips help keep cords in place while knotting, especially on cork boards or foam boards.
Needles
Needles or hooks may seem like a small detail, but they make a big difference in the final look of your project. Tapestry needles, crochet hooks and beader tools are perfect for tucking away loose ends and weaving cords neatly into knots. I use them regularly to hide cord ends or attach beads and decorative elements smoothly. I’ve linked my favorite needle and beader tools here in case you’d like to take a look.
Extra Tips from My Workstation
-
- I always keep a small notebook nearby to keep track of measurements, pattern ideas, or little notes while I’m working. It’s surprisingly helpful, especially when I want to recreate a design later.
- If you enjoy photographing your work, try arranging your tools neatly around your project. It not only keeps your space tidy but also doubles as a simple staging setup for social media photos.
Tip: Start with the basics and add tools as you go. You don’t need to buy everything at once, sometimes simple household items work just as well, especially when you’re practicing knots or working on smaller projects.
📦Organizing Your Materials
I have to admit—when I get caught up working on one project (or several at once!), my workstation can quickly turn into a chaotic mess. It’s amazing how a cluttered space can make finishing a project feel more challenging. Over time, I’ve learned that keeping a tidy, organized workstation makes macrame so much more enjoyable and keeps my creativity flowing.
Having your cords, tools, and finished pieces organized not only saves time but also prevents tangles and makes your workflow smoother. Here are some of the ways I like to keep my space in order:
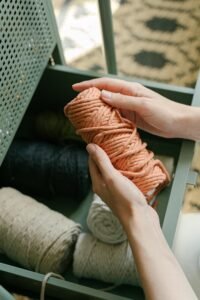
Cords
-
- Baskets or Bins: Sort cords by color, thickness, or material. Clear bins make it easy to see what you have at a glance.
-
- Pegboards: Hang spools of cord on hooks for easy access and to prevent tangling.
-
- Labels: Label each basket, jar, or spool to quickly find the cord you need. it is especially helpful if you have lots of different leftover sizes or colors.
-
- DIY Options: Repurpose empty jars, small boxes, or magazine holders to keep cords tidy without spending much.
Tools
-
- Keep frequently used tools like scissors, needles, brushes, and clips in a small container on your work surface. I have this small bamboo box that I like to keep the tools I use the most.
- Hooks, magnetic strips, or a pegboard can keep scissors, needles, and combs within reach and off the desk.
- I like to use small little macrame baskets I made to store wooden beads and rings.
Finished Projects and WIPs (Works in Progress)
-
- Use small boxes or bins to store unfinished pieces safely until you can return to them.
-
- For larger wall hangings, a simple hook or hanger on a closet rod works to keep them flat and prevent tangles.
-
- Stack coasters, keychains, or smaller projects in baskets to keep them organized and visible.
✨ Final Thoughts
Creating a macrame workstation doesn’t have to be complicated, or expensive. With just a few well-chosen tools, some thoughtful organization, and a space that feels comfortable to you, your crafting experience can change completely. I’ve found that the right setup keeps cords and tools under control, helps ideas flow more easily, and makes the whole knotting process so much more enjoyable.
Whether you’re working from a full craft room or a small corner like I do, start simple and build your space little by little as your needs grow. Most importantly, give yourself permission to enjoy the process—macrame is meant to be relaxing, creative, and fun.
👉 Ready for your next knotty adventure? Share your creations with me on Instagram @studio_atk. I’d love to see what you’re working on and cheer you on! And if you’re looking for inspiration, be sure to explore my tutorials for fresh ideas and fun projects to try.
Below, you’ll find a complete list of all the tools I mentioned in this post, along with links for easy reference:
- Cork Board – Ideal for small macrame projects like coasters, keychains, or jewelry. It helps keep cords in place while you work and is easy to store or move around. 👉 Shop here.
-
Softbox Light – I use this for crafting at night or on darker days, as well as for filming my videos. It provides bright but gentle light that makes it easier to see every knot without straining my eyes. 👉 Shop here.
-
Singer Scissors – My go-to scissors for clean, smooth cord cuts. I keep them just for macrame so they stay sharp and reliable for every project. 👉 Shop Here.
-
Tapestry Needles – Perfect for tucking in cord ends and weaving them neatly into knots for a polished finish. 👉 Shop Here.
-
Beader Tool – Makes it easier to add beads and decorative elements without fraying the cords, especially on detailed projects. 👉 Shop Here.