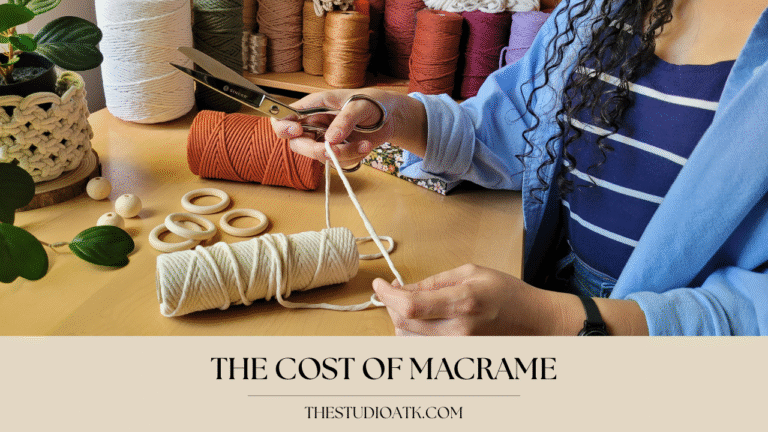
If you’ve ever admired beautiful wall hangings, plant hangers, or textured home decor, you might have wondered: How do people make these amazing Macrame pieces? The good news is, Macrame is easier than it looks—and anyone can learn the basics with a little practice!
In this guide, we’ll cover the essential terminology, types of cords, workstations, and what to expect as you start your Macrame journey.
This post contains affiliate links, which means I may earn a small commission if you make a purchase through them, at no extra cost to you. It’s a simple way to support my tutorials and keep the creativity flowing. Thank you for being part of my Macrame journey!
1. Understanding Macrame Terminology
Before you start tying knots, it’s super helpful to know the “language” of Macrame. Don’t worry—it’s easier than it sounds! Here are the key terms you’ll come across:
-
- Cord: This is the material you’ll use to create all your knots. It could be cotton, jute, hemp, nylon, or a mix of fibers.
-
- Knot: The heart of every Macrame project! Beginners usually start with:
-
- Lark’s Head Knot – for attaching cords to a support
-
- Square Knot – a versatile, go-to knot
-
- Half Knot – makes lovely twisted patterns
-
- Double Half Hitch – perfect for lines and shaping
-
- Clove Hitch – ideal for borders and outlines
-
- Knot: The heart of every Macrame project! Beginners usually start with:
-
- Working Cords: The cords you actively tie to make your knots.
-
- Filler Cord: The cord that stays put and acts as the base for your knots.
-
- Fringe: The free ends that hang at the bottom of your piece.
-
- Pattern / Design Chart: The instructions or diagrams that guide you through your project.
Learning these terms will make following tutorials a breeze, and bonus: you’ll start sounding like a true Macrame pro!
Want to dive deeper? Check out our other posts on Macrame Cost and Choosing the Right Cord for Your Project to keep your macrame skills growing!
2. Choosing the Macrame Cord
Picking the right cord can totally change the look and feel of your Macrame project, and it’s also part of the fun! Here’s a quick guide to some of the most popular options:
-
- Cotton Cord: Soft, flexible, and super beginner-friendly. Perfect for wall hangings, plant hangers, and coasters.
-
- Jute / Hemp: Rustic with a slightly rough texture. Great for natural-looking pieces that hold their shape well.
-
- Nylon / Polyester: Shiny, strong, and durable—ideal for jewelry or projects that need a little extra toughness.
-
- Roving / Wool Cord: Soft and chunky, excellent for creating cozy, textured wall hangings.
Pro Tip: Starting your macrame journey? Go with a 3–4 mm cotton cord — it’s soft, easy to handle, and super forgiving while you learn the basics!
Shop My Favorite Cords
-
🧵 3mm Cotton Rope on Amazon – great for beginners
-
🌿 Natural Jute Cord – perfect for rustic designs
-
💎 Shiny Nylon Cord – ideal for jewelry, and bracelets
- 🐑 Chunky Wool Cord – for soft, cozy textures
Want more inspiration? Check out my posts on Macrame Projects for Beginners and Fun Ways to Play with Cord Texture to get your creativity flowing!
3. Choosing Macrame Support or Workspace
Having a stable support or workstation makes a huge difference. Your knots will stay neat, even, and way more enjoyable to tie! Choosing the right setup also depends on the space you have at home, so pick something that fits comfortably and works for you. Here are some options to get you started:
- Wooden Dowel / Rod: The classic choice for wall hangings. Simple and sturdy!
- Metal or Wooden Rings: Perfect for circular projects like dreamcatchers or hanging planters.
- Branches / Driftwood: Bring a touch of nature and rustic charm to your piece.
- T-Pins / Cork Board: Keeps smaller projects like coasters or bracelets neatly in place.
- Macrame Board / Hanger: Adjustable boards are great for larger, more intricate pieces.
- Table or Lap Workspace: Flexible and comfy for projects that don’t need to hang.
Pick a setup that feels good and fits your space—when you’re comfortable, your knots will look amazing, and crafting will be even more fun!
Curious for more tips? Check out my posts on Setting Up Your Macrame Space and Tools Every Macrame Crafter Needs for extra inspiration!
4. Timeline for Learning Macrame
The truth is, everyone learns at their own pace! How quickly you pick it up really depends on the types of projects you want to make:
- Beginner (about 1–2 weeks): You can learn the basic knots and whip up fun little projects like keychains or coasters.
- Intermediate (around 1–2 months): This is where you start mixing knots into patterns and creating medium-sized wall hangings, plant hangers, or even jewelry.
- Advanced (3–6 months or more): With time and practice, you’ll be ready to tackle complex designs, layered wall hangings, and even 3D macrame art.
Tips for Beginners:
Start small with simple knots and quick projects—you’ll build confidence faster.
Pay attention to your tension; even knots make your work look extra polished.
Most importantly, take your time! Macrame is a relaxing, creative journey, not a race.
🌿 Remember: every knot you tie is progress—so enjoy the process, celebrate your wins, and have fun creating!
Want to keep learning? Check out Macrame Knots for Beginners to practice the basics or explore Easy First Projects for fun, beginner-friendly ideas.
Final Thoughts
Macrame is such a fun and rewarding craft. You really don’t need much to get started! With just a few simple knots, the right cord, and a bit of practice, you’ll be amazed at the beautiful pieces you can create to decorate your home or gift to someone special.
And don’t forget: every knot you tie is part of the journey. Take it slow, enjoy the process, and celebrate how far you’ve come. Happy knotting, friend! 🌿✨
👉 Ready for your next knotty adventure? Share your creations with me on Instagram @studio_atk—I’d love to cheer you on! And if you’re looking for inspiration, explore my tutorials for fresh ideas and fun projects to try.