
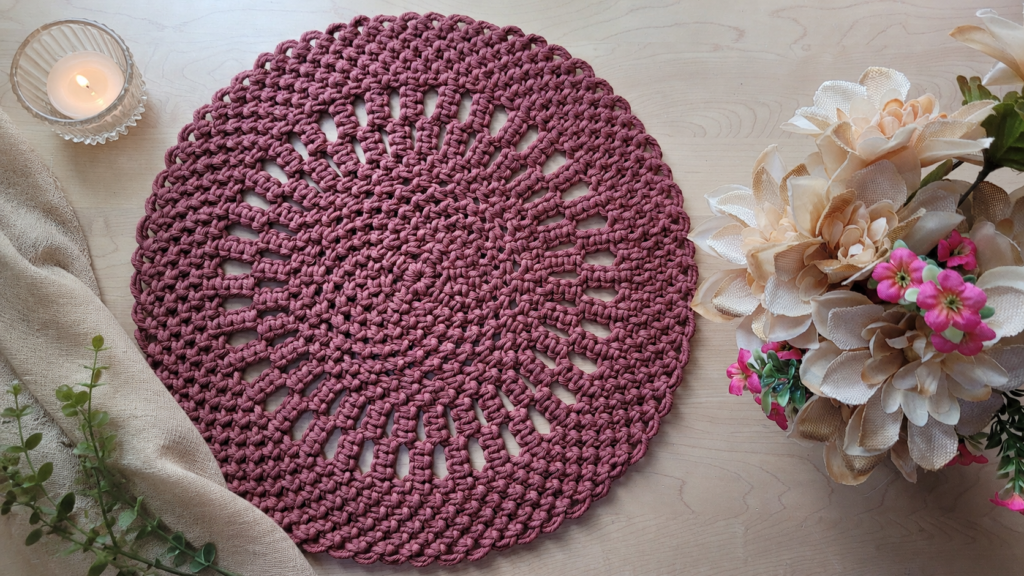
There’s something special about a handmade table. Even the simplest meal feels a little more inviting when it’s surrounded by pieces you’ve created yourself.
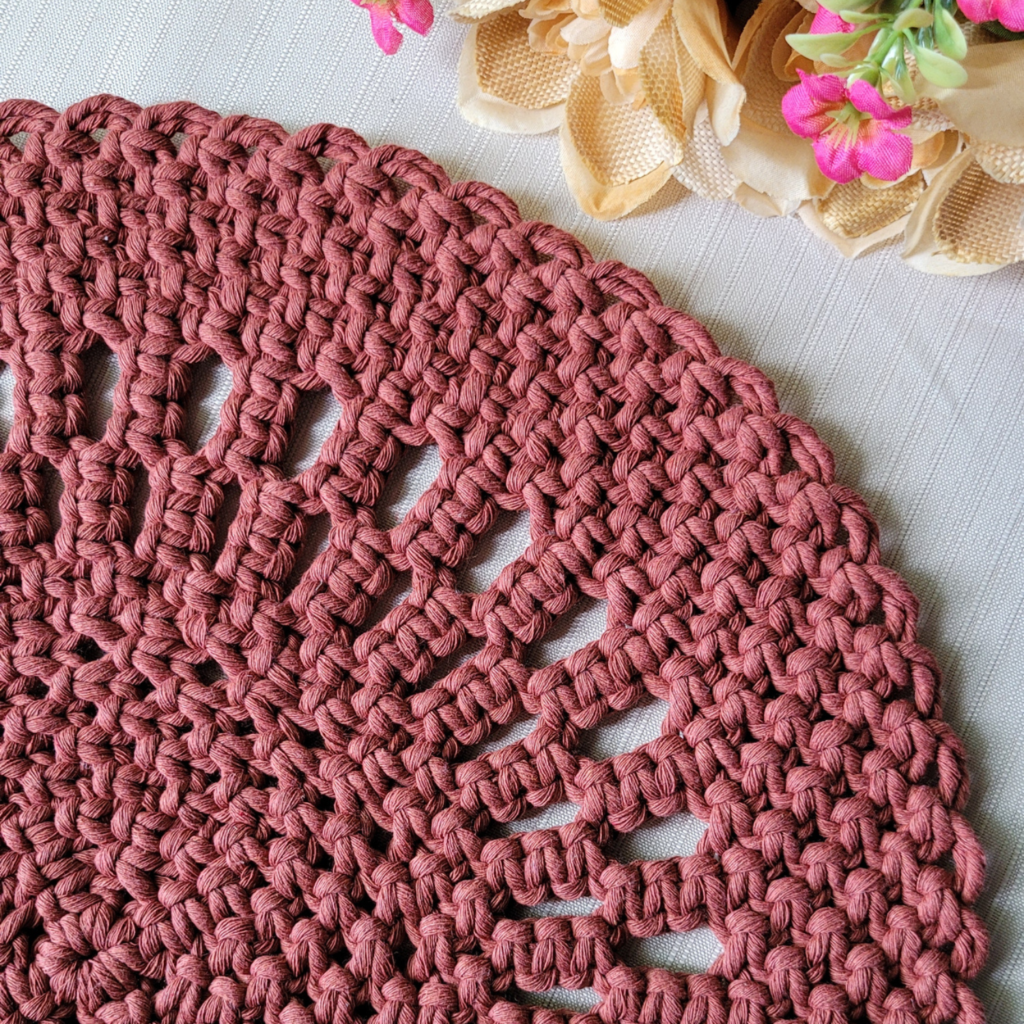
If you’re looking for a macrame project that’s both practical and beautiful, this Round Macrame Placemat is a wonderful choice. With its delicate openwork centre and clean, polished edge, it brings warmth and texture to your table while remaining surprisingly beginner-friendly. Best of all, it’s made using just two fundamental macrame knots.
About This Pattern
Skill level: Beginner-friendly
Although this placemat looks intricate, it’s a project that confident beginners can absolutely tackle. It’s made using just two essential macrame knots: the Reverse Lark’s Head Knot and the Square Knot. The Square knot specifically is repeated throughout the design to create the beautiful mesh pattern.
If you’re already comfortable tying these knots, you’ll find the process relaxing and easy to follow. And if they’re new to you, don’t worry!
If you’d like to practice these knots before starting, I’ve created free tutorials on my YouTube channel (see links below), making this a wonderful project to build your confidence while creating something you’ll use and enjoy.
- 🎥 How to tie Reverse Lark’s Head Knot → Watch here
- 🎥 5 Basic Macrame Knots (includes the Square Knot) → Watch here
- 🎥 How to tie Alternating Square Knot → Watch here
Time Required:
This isn’t a quick afternoon craft—it’s the kind of project you can truly settle into and enjoy. Depending on your experience and knotting pace, you can expect to spend around four to six hours completing one placemat.
I like to think of it as the perfect weekend project. Put on your favourite playlist, podcast, or audiobook, pour yourself a cup of tea or coffee, and enjoy the calming rhythm of the knots. Macrame has a wonderfully meditative quality, and this design gives you plenty of time to slow down and enjoy the creative process.
If you’re making a set of placemats, don’t feel like you need to finish them all at once. Completing one each weekend can make the experience feel relaxed rather than rushed.
Finished size
Once finished, the placemat measures approximately 40 cm (16 inches) across, making it a versatile size for everyday dining.
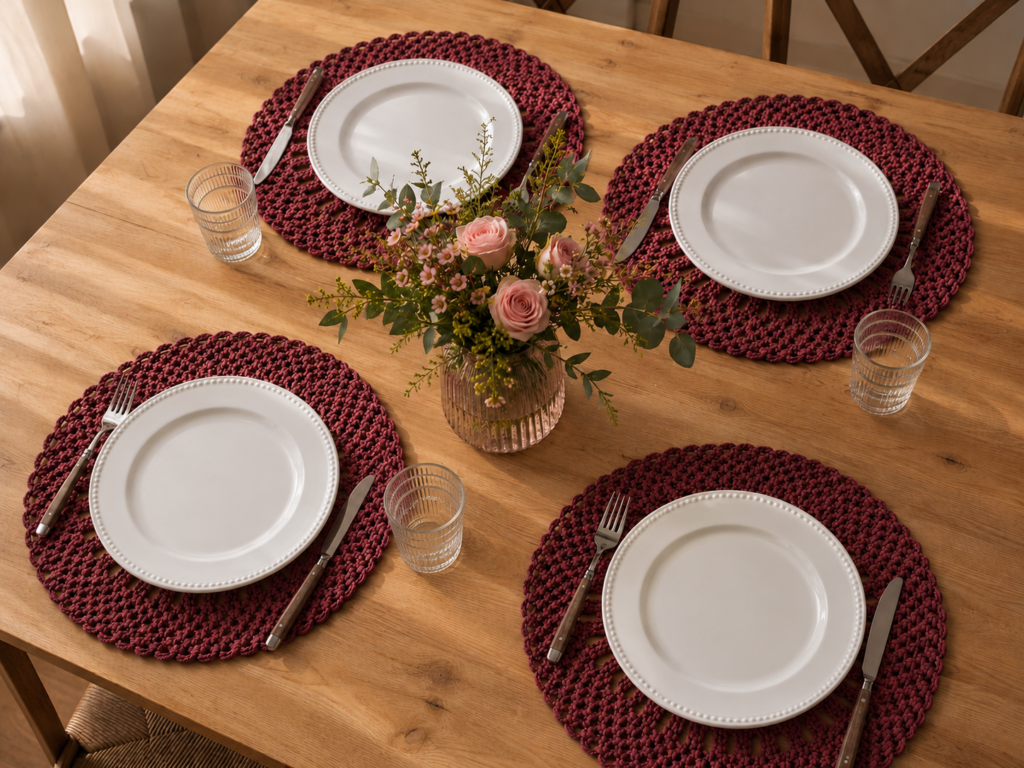
It comfortably accommodates a standard dinner plate while leaving enough of the intricate border visible to showcase the pattern. The size also makes it suitable for larger serving bowls, decorative centrepieces, or seasonal table styling.
Whether you’re creating a single placemat as an accent piece or making a complete set for your dining table, the finished size strikes a lovely balance between functionality and decorative appeal.
The Cord I Used and Why
For this project, I used 3 mm single strand cotton cord in terracotta.
I love using single strand cord for this design because it creates a soft, clean texture that really highlights the pattern. The mesh remains light and defined, giving the placemat an elegant look without feeling bulky.
A 3-ply cord, for example, would create a much heavier texture, so if you’d like to achieve the same airy finish shown here, I recommend sticking with single strand cotton.
As for the colour, terracotta is one of my favourites. Its warm, earthy tone pairs beautifully with wood, neutral linens, ceramics, and natural home décor. If terracotta isn’t your style, this pattern also looks lovely in natural cotton, cream, or even a soft sage green.
Follow Along with the Video Tutorial
If you enjoy learning visually, I’ve created a complete step-by-step video tutorial that walks through the entire project, from the initial ring to finishing the final edge.
The full tutorial is available to Studio ATK members, giving you the opportunity to knot along at your own pace whenever you’d like.
You can follow the full tutorial here 👇
Prefer a Written Pattern?
If you like having instructions beside you while you work, or you’re planning to make several placemats, the printable PDF pattern is a helpful companion.
The PDF includes:
- Complete material list
- Cord measurements and quantities
- Step-by-step written instructions
- Clear process photos throughout the project
- A knot guide for the Reverse Lark’s Head Knot, Square Knot, and Alternating Square Knot
Many makers enjoy using the PDF together with the video tutorial, while others prefer using it as a stand-alone reference.
You can get the PDF tutorial on my SHOP → Click here
Before you begin
Although this project is beginner-friendly, it’s helpful to know what to expect before you get started.
You’ll be working with many cords
Because this design uses quite a few working cords, staying organized makes the process much easier. I recommend cutting and grouping your cords before you begin so everything is ready to go.
Consistent tension matters
Since the placemat grows outward in a circle, even tension helps it stay flat and symmetrical. Don’t worry if your first few rows take a little extra attention, you’ll quickly find a comfortable rhythm.
Like many handmade projects, patience is part of the process. By the time you finish, you’ll have created something that’s not only beautiful but also functional enough to enjoy every day.
I Hope You Enjoy Making It
One of my favorite things about handmade home décor is that it becomes part of everyday life. Every meal, coffee break, or family gathering is made a little more special when it’s surrounded by something created with your own hands.
If you make your own Round Macrame Placemat, I’d love to see it. Feel free to share your finished piece on Instagram and tag @studio_atk so I can celebrate your work with you.
Happy knotting!